


How to Make an Olson Homemade Mask
April 29, 2020
1| Find the Olson mask template online. Cut fabric into 6 pieces from the pattern. Take note as to which pieces are the mouth, face, and cheek pieces. The patterns will be helpful in understanding the instructions below.
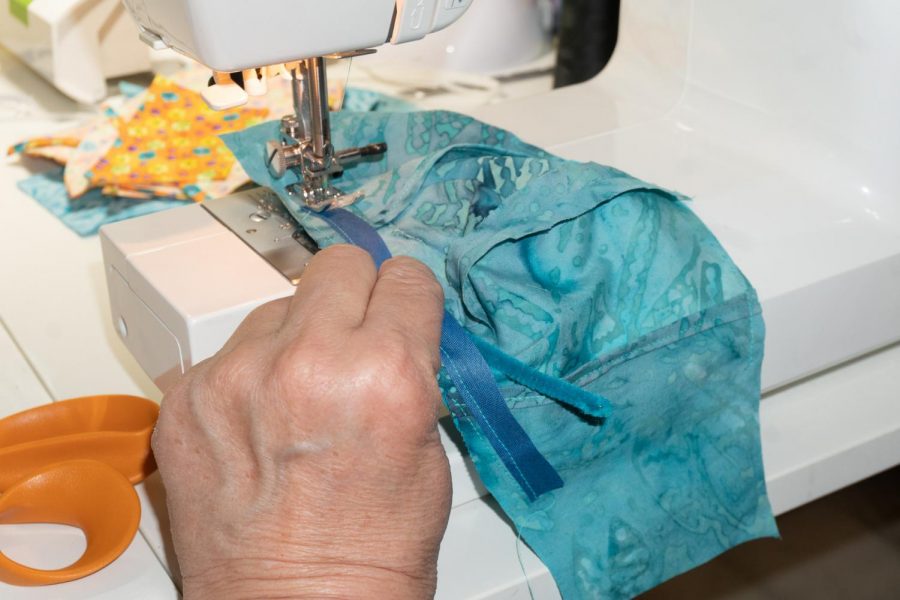
2 | Sew the facepieces together along the curved edges with right sides (pretty sides) facing in with a ¼ inch straight stitch. Fold mask inside out to show the right sides. Optional: Press seams way from each other for a neater look.
3 | On the straight edge of the mouthpieces, fold ¼ of an inch down, twice, and stitch down. On the cheek pieces, fold the longest base edge down ¼ of an inch , then again and sew down. The folds should be folded so as to not show the right side (pretty side).
5 | Align the mouthpieces right sides together. Sew along the curved edges as in step 2.
6 | Mark cheekpieces with a line by the referencing online pattern. With the non right side mouthpieces folded out, lay and then pin a cheekpiece with the non-right side facing up on non-right side of the mouthpiece so that they overlap about 1 inch. The edge lines should meet. Repeat with the other cheek piece and then sew overlapping edges to form a pocket.
If desired, sew a 6 inch length of seam binding ½ inch from the top edge of the cheek/mouthpiece and insert a 5.5 inch piece of chenille stem. It is easiest to sew one edge down, insert the stem and then sew the other edge down. This forms a flexible bridge across the nose to conform the mask better to the face.
7 | Lay sewn facepiece on top of sewn cheek/mouthpiece right sides together. Pin around the aligned project and then sew around the edges. Reach into the pocket and turn the project right side out.
8 | Sew either elastic or a hairband on edges of the mask to make the mask wearable and adjustable. Optional: add a filter in the pocket. Stay safe!