


Craftmania: How to Screen Print
May 13, 2015
Clothing is a great was to express yourself. You can create your very own designs and make customized shirts or other clothing with these simple screen printing instructions.
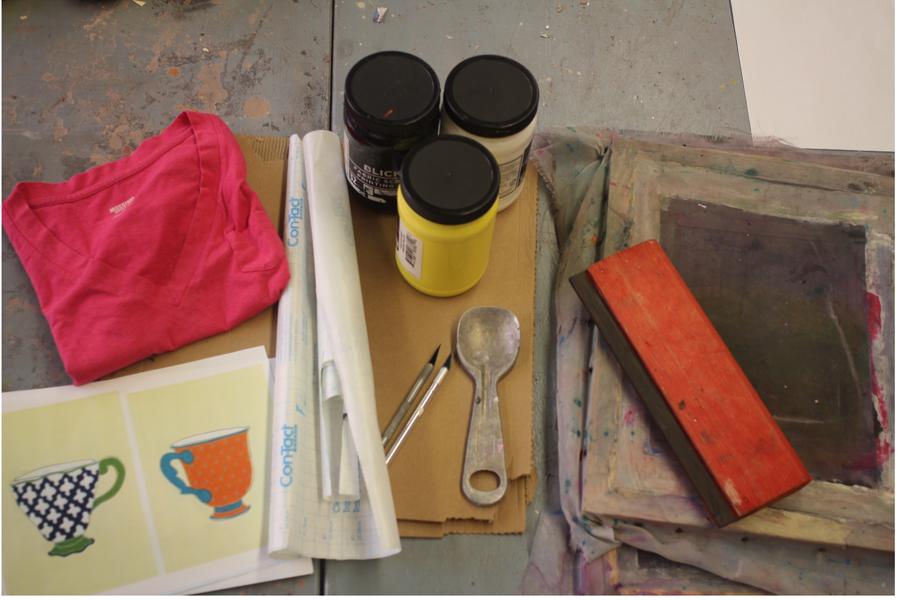
Step 1: Gather Supplies. You will need…
1: a shirt (or other fabric of some sort to print on)
2: permanent fabric paint (paint can be purchased at Blick or Michael’s, among other places)
3: a spoon for the paint
4: contact paper (or clear packing tape)
5: an exacto knife
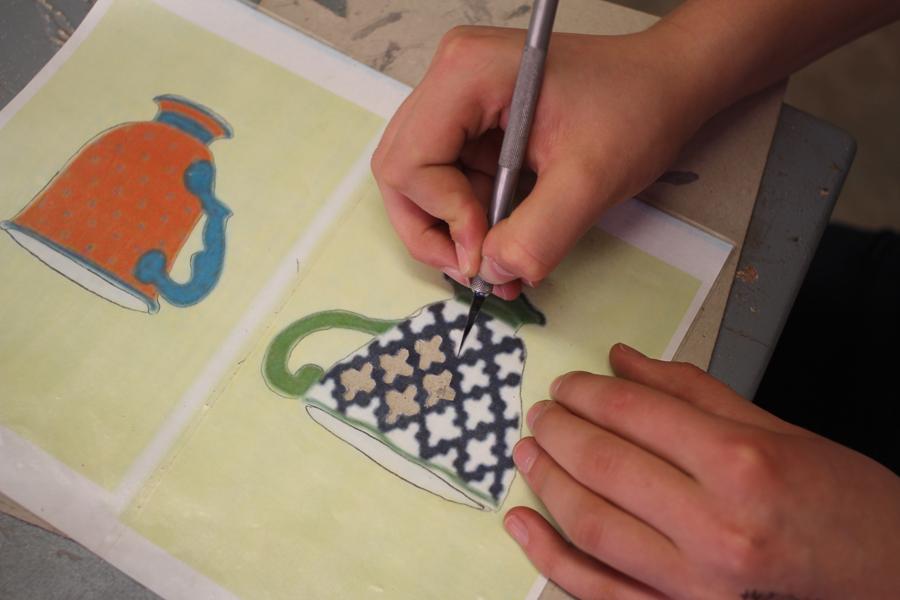
6: a printout or picture you want to make into a stencil
7: a screen (or a piece of silk fabric put tightly in an embroidery hoop)
8:a paint squeegee or used gift card
9: a hard surface (cardboard, cutting board, work table) that you don’t mind cutting on
10: a piece of plexiglass (or other hard surface like a textbook) to put inside the shirt to prevent bleeding
11: a table to print on

Step 2: Stick contact paper (or clear tape) to your paper stencil. Do this by putting the sticky side up on a table and pressing the stencil on top of it. Then smooth out the tape to get rid of any bumps or bubbles (similar to putting a screen protector on a phone). If you will be making a print with multiple colors or layers, you will need to repeat the process and make stencils for all the different layers.
Step 3: To cut out, put your stencil on top of the cardboard, then cut out pieces with an exacto knife. Be very careful! Knives are sharp!
Step 4: Get ready to print: put the plexiglass or textbook inside of the shirt, this will prevent ink from getting on the other side of the shirt and provide a smooth surface for printing. Place stencil in desired spot, then place extra paper around edges of stencil to prevent paint from getting where you don’t want it. Mix up paint if needed.
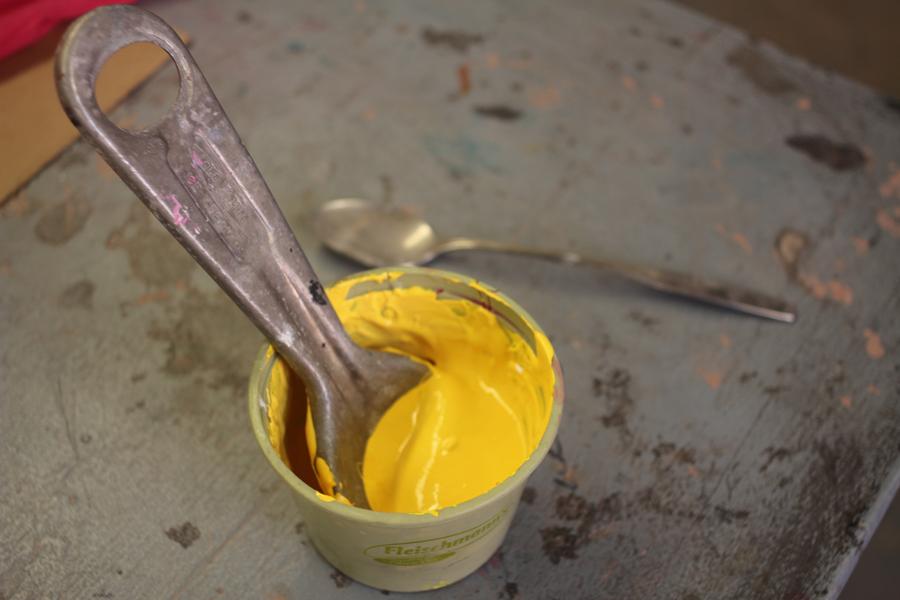
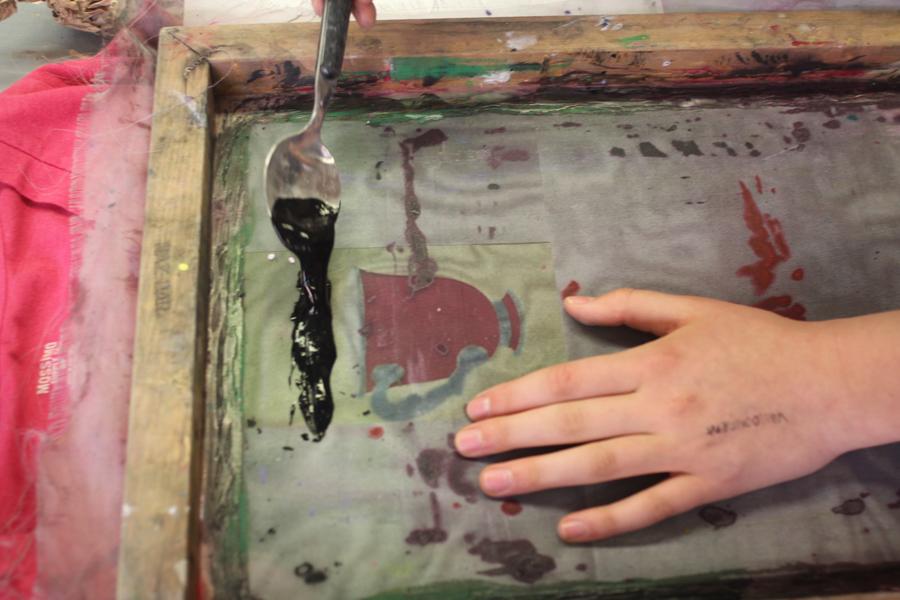
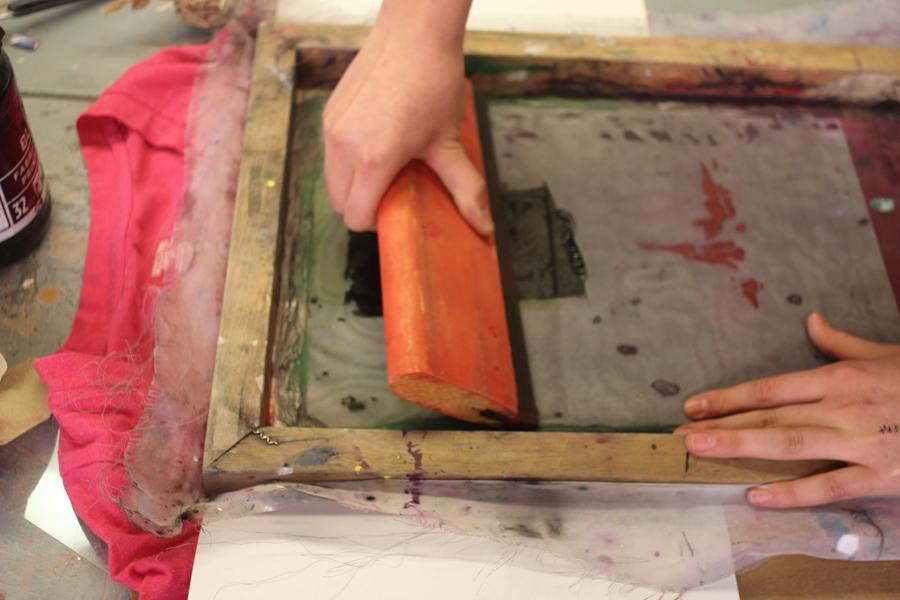
Step 5: The most important step of all: printing. Place screen on top of stencil. Take your spoon and put dollops of paint above the the stencil, on the screen. Hold on to the screen firmly so it will not slide around during the printing process. Next, take the paint pusher and start at the top (where the paint is) and slowing slide the paint squeegee or used gift card over the stencil, then push it back in the opposite direction. Repeat this process about 5 times.
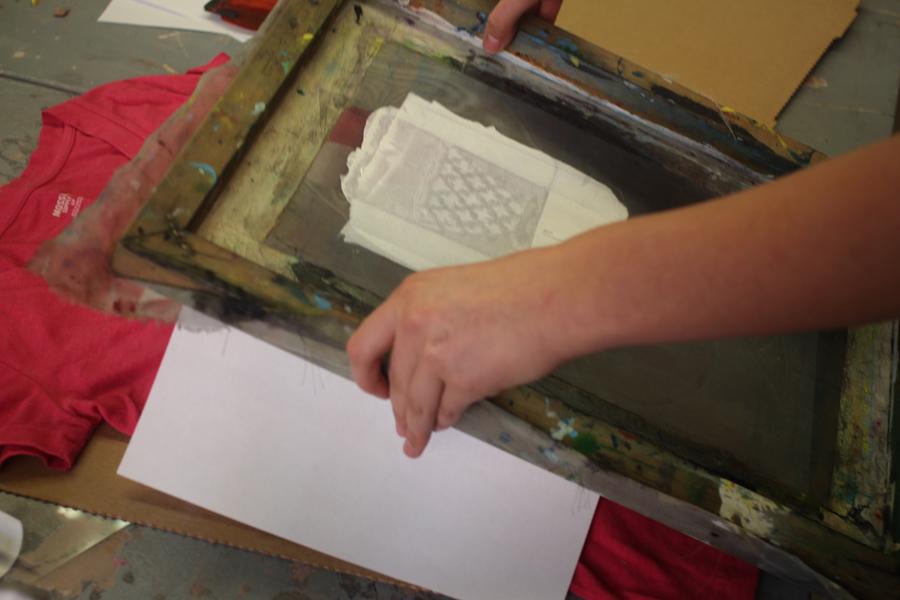
Step 6: The moment of truth: slowly and carefully lift the frame straight up, make sure not to move it side to side, as that could smear ink.
Step 7: If you are doing multiple layers (like we did) wait until ink is totally dry, this takes about 30 minutes per layer, then repeat steps 4-6.
Step 8: Setting the ink: different paints have different setting instructions, most involve heat sealing by either putting the shirt in the dryer or ironing. For our paint, we waited about 24 hours, then put the shirt alone in the dryer (without washing first) for 30 minutes to set ink. After heat setting, you may wash the shirt, but make sure you do not wash the shirt until the ink is set, because all the ink will come out and your hard work will be ruined.
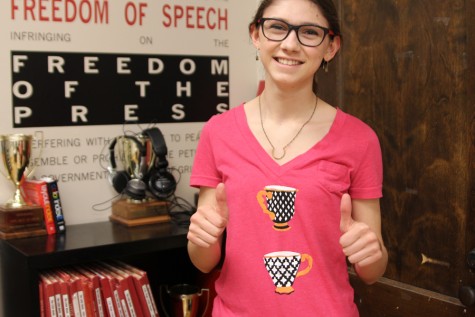
Step 9: Tah-Dah! You are done, wear you super cool new shirt with pride!